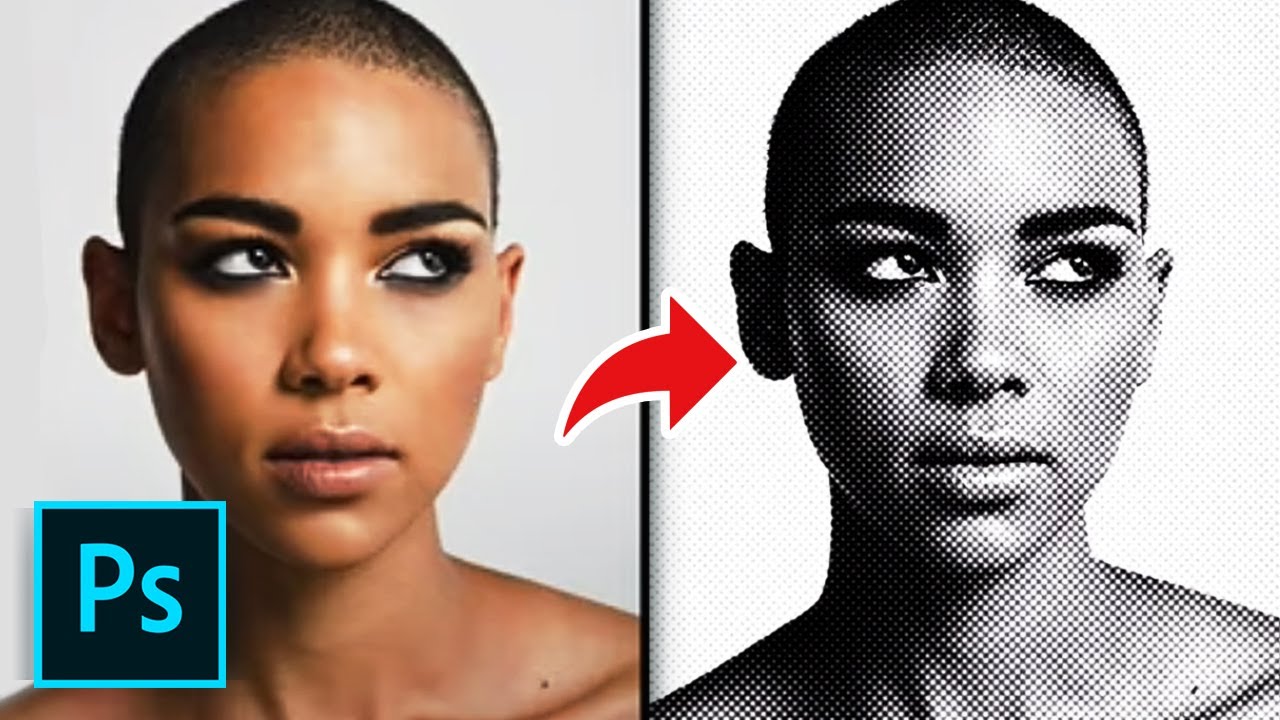
On this tutorial, you’ll learn to Make a Halftone Impact in Photoshop CC.
Halftone is initially a printing method that makes use of tiny dots of coloured ink to simulate stable ink protection. When various in dimension and spacing, the dots generate a clean colour and gradient impact.
To get began, open an think about in photoshop and go to Filter – Pixelate – Colour Halftone.
Listed here are what every textual content field means. Max radius will outline how large the dots will likely be usually. Be at liberty to strive completely different sizes to see what will get you the look you need.
The Display Angles management how the person dots align to make the blended colours. We advise leaving these as is. Should you’ve already modified these numbers and wish to return to inventory settings, maintain Command and the cancel button will change to a Default button.
That is the most effective methodology for correct and predictable halftone photographs. Photoshop actually got here a good distance in revising the impact to present larger management with extra selections.
❓💬 What different photoshop filters would you want us to make a tutorial about? Please tell us within the feedback.
#HowTech #Photoshop
————————————————————————————————————–
✅ All our bulletins can be found right here https://t.me/howtechtv
✅ Industrial questions information@howtech.television
✅ Fb https://www.fb.com/howtechtv
✅ Instagram https://www.instagram.com/howtechprojects
✅ Twitter https://twitter.com/howtechprojects
source
A lovely step by step tutorial and technique.
Thank you for sharing 👍
This is great!
Thanks for nice app God bless you ❤❤❤From 🇮🇷
is there any tutorial to convert photos to engrave into granite with a laser machine?
why its doesn't work for me 🙁
Amazing! Thank you so much.
Thank you so much!!!
THANK YOU!
This is ridiculous! what happened to the original where you just click Halftone?
I follow all the steps until I get to "go to filters gallery." When I click on "filters gallery," I get the message "Could not complete the Filter Gallery command because the selected area is empty." And I'm stopped there. Any suggestions?
I love it. Simple and easy 🙂 thank U!
Can you like save it as a preset so you don't do the same process over again?
does anyone know why my filter gallery won't open or click? 😢
Does it have to be black and white I need same effect but on colout
thank you for this simple useful tutorial
I don't know why but hen I choose the filter options the half gray layer just turns black 🙁 what am I doing wrong?
yes
Didn’t work for me. Don’t know why
Perfect thanks
Appreciate that.
filter gallery effects turns my grey layer to white. what am i doing wrong?
thanks bruther
Is it now converted into vector or still an image only?
give "photoshop design and photo education" a raise!!!
thank you!!
incredibly great
thank you!!! great video
This will not work good for screen printing by the way.
But how do i reverse the effect, if my image is already half tone i want it to be "solidify" back to atleast dont have the dots